 simpleTracker
Organizing with Projects
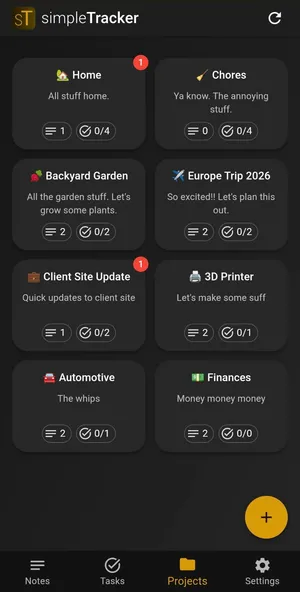
Projects in simpleTracker let you group related notes and tasks together — great for separating work from personal items or organizing by topic.
Creating a Project
- Navigate to the Projects tab
- Tap the + button
- Give your project a name and optional description
- Start adding notes and tasks to it
Adding Items to a Project
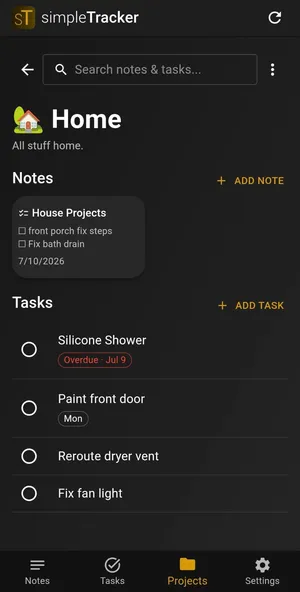
When creating or editing a note or task, you can assign it to a project. Items can only belong to one project at a time, but you can reassign them freely.
From the project detail view, you’ll see all notes and tasks that belong to it in one place.
Sharing a Project
Sharing a project gives another user access to everything inside it:
- Open the project
- Tap the share option
- Select a user from your contacts (added via QR code scanning)
All notes and tasks within a shared project sync in real time. Both collaborators can add, edit, and complete items.
QR Code Contact Exchange
To share projects (or individual notes), you first need to exchange user IDs:
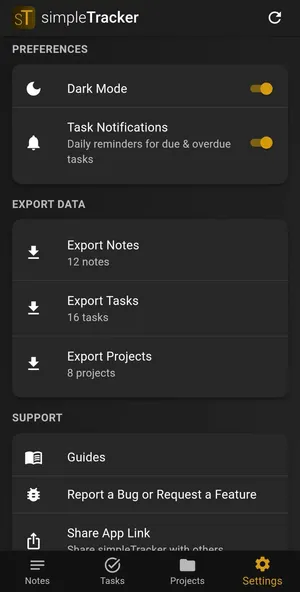
- Go to your Settings or sharing screen
- Show your QR code to the other person
- They scan it with their camera or the in-app scanner
- You’re now connected — you can share projects and notes with each other
This is a one-time setup per person. Once connected, sharing is instant.
Tips
- Use projects to separate concerns: “Work”, “Personal”, “Shopping”, etc.
- Shared projects require an internet connection to sync — they bypass the offline queue
- Project descriptions are great for jotting down the purpose or context of a group of items