Adding Sections & Categories
Your budget is organized into sections and categories:
- Sections are groups (e.g., “Housing”, “Food”, “Transportation”)
- Categories are individual line items within a section (e.g., “Rent”, “Groceries”, “Gas”)
Adding a section
- On the Budget page, scroll to the bottom
- Tap “Add Section”
- Enter a name (e.g., “Entertainment”)
- Choose the type: Income or Expense
- Tap Add
Income sections appear at the top of your budget. Expense sections are sorted by total amount (largest first).
Adding a category
- Find the section you want to add to
- Tap the + button on that section’s header
- Enter a category name (e.g., “Streaming Services”)
- Set the budgeted amount (you can always change this later)
- Tap Add
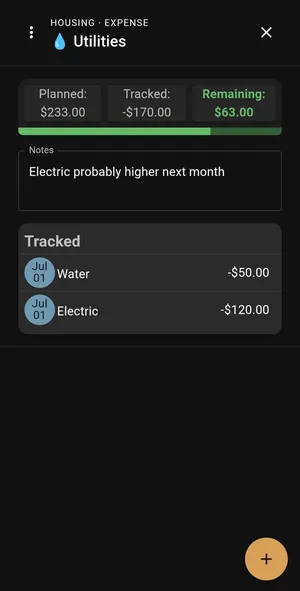
Viewing categories
Tap any category to see its details. The view differs slightly depending on whether it’s an income or expense category:

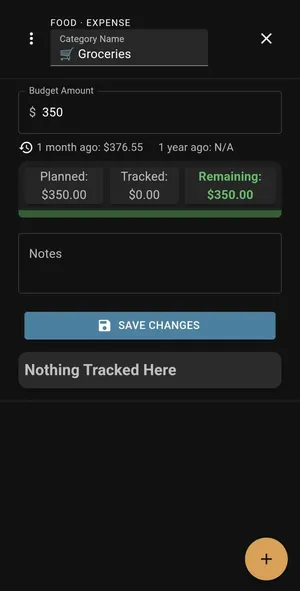
Editing sections and categories
- Tap a section name to rename it or change its type
- Tap a category to change its name or budgeted amount
- On desktop, selecting a category opens a detail sidebar with quick edit options
The edit screen also includes helper options for managing your category:
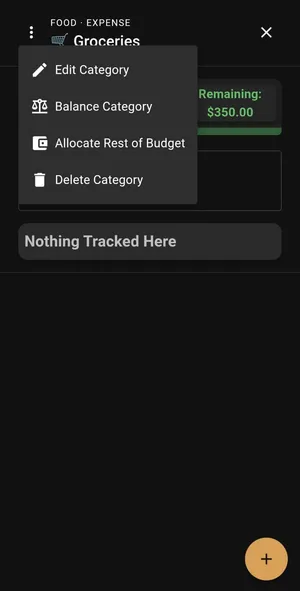
Deleting
- Sections can be deleted from the section edit menu — this also removes all categories within it
- Categories can be deleted individually — transactions assigned to that category will become uncategorized
Tips for organizing
- Keep it simple. 5–8 expense sections with 2–5 categories each is a sweet spot for most people.
- Use the default template as a starting point and remove what doesn’t apply to you.
- “Miscellaneous” is your friend. Having one catch-all category prevents you from creating too many tiny categories.
- Income sections usually only need 1–3 categories (paycheck, side income, other).